Are there any installation tools required for the CBR1000RR - R Passenger Seat 2017?
As a supplier of the CBR1000RR - R Passenger Seat for the 2017 model, I often receive inquiries from customers about the installation process. One of the most common questions is whether specific installation tools are required. In this blog post, I will delve into this topic in detail to provide you with a comprehensive understanding.
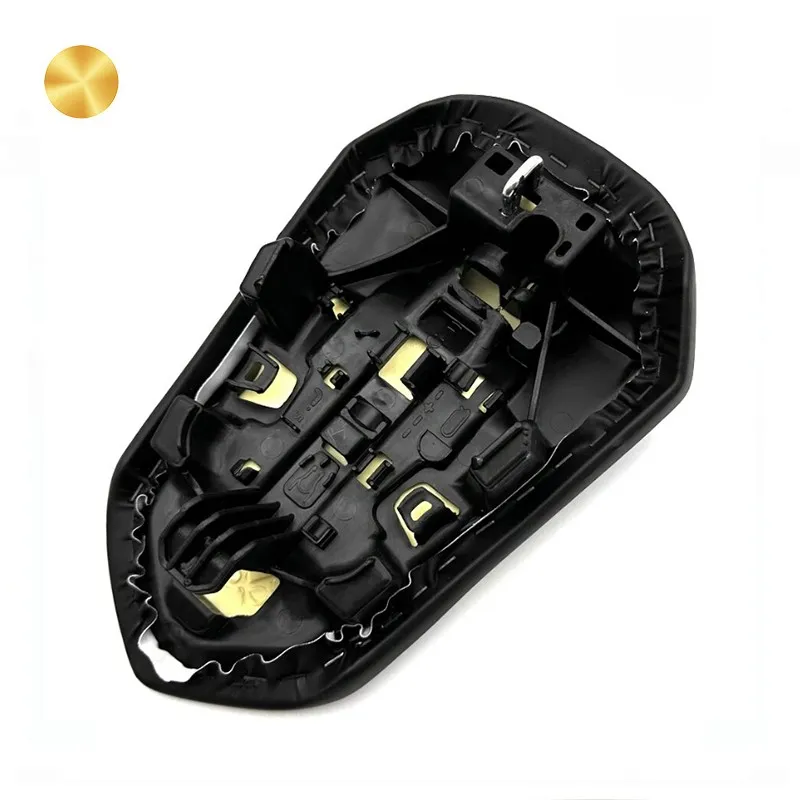
Understanding the CBR1000RR - R Passenger Seat 2017
Before we discuss the installation tools, let's first have a brief overview of the CBR1000RR - R Passenger Seat 2017. Our seats are designed with high - quality materials to ensure both comfort and durability. They are engineered to fit perfectly with the 2017 CBR1000RR - R model, providing a seamless and stylish addition to your motorcycle. We offer two main types of seats: the Motorcycle Passenger Seat Cushion for Honda CBR1000RR - R 2017- and the Motorcycle Complete Seat Cushion for Honda CBR1000RR - R 2017-. The passenger seat cushion is ideal for those who only want to upgrade the passenger seating area, while the complete seat cushion replaces both the rider and passenger seats.
Installation Tools: What's Needed?
The good news is that installing the CBR1000RR - R Passenger Seat 2017 does not require a large set of specialized tools. In most cases, you can complete the installation with basic hand tools that are commonly found in a home toolbox.
Screwdrivers
A set of screwdrivers is essential for the installation process. You will typically need both flat - head and Phillips - head screwdrivers. The size of the screwdrivers will depend on the specific screws used in your motorcycle's seat mounting system. Make sure to have a variety of sizes on hand to ensure you can handle any screw that comes your way.
Wrenches
Depending on the model and the way the seat is attached, you may need a wrench or a socket set. A combination wrench set that includes both open - end and box - end wrenches is a great option. Socket wrenches are also useful, especially if the bolts are in hard - to - reach places. You may need to use a ratchet to make the tightening and loosening process easier.
Pliers
Pliers can come in handy during the installation. They can be used to hold small parts in place, bend wires if necessary, or remove any clips that may be securing the seat. A pair of needle - nose pliers and a pair of regular pliers should be sufficient for most installations.
Safety Equipment
While not strictly a tool for installation, safety equipment is crucial. You should wear safety glasses to protect your eyes from any debris that may be dislodged during the installation process. Gloves are also recommended to protect your hands from sharp edges and to provide a better grip on the tools.
Step - by - Step Installation Guide
Now that we know what tools are needed, let's go through a general step - by - step installation guide.
Step 1: Preparation
Park your motorcycle on a flat and stable surface. Make sure the engine is turned off and the key is removed. Gather all the necessary tools and your new CBR1000RR - R Passenger Seat.
Step 2: Remove the Old Seat
Use your screwdriver or wrench to remove the bolts or screws that are holding the old seat in place. Place the removed bolts and screws in a safe place so you don't lose them. Lift the old seat carefully from the motorcycle and set it aside.
Step 3: Inspect the Mounting Area
Take a moment to inspect the mounting area on the motorcycle. Make sure there is no debris, rust, or damage. If you notice any issues, clean or repair the area before proceeding with the installation of the new seat.
Step 4: Install the New Seat
Place the new CBR1000RR - R Passenger Seat in the correct position on the motorcycle. Align the holes in the seat with the mounting points on the motorcycle. Insert the bolts or screws and hand - tighten them initially.
Step 5: Tighten the Bolts or Screws
Using your screwdriver or wrench, tighten the bolts or screws to the appropriate torque. Be careful not to over - tighten, as this can damage the seat or the motorcycle. Refer to your motorcycle's manual for the recommended torque settings.

Step 6: Final Check
Once the seat is installed, give it a gentle shake to make sure it is securely attached. Check that all the bolts and screws are tightened properly. If everything looks good, you're done!
Troubleshooting
In some cases, you may encounter issues during the installation process. If the seat does not fit properly, double - check that you have the correct model for your 2017 CBR1000RR - R. If the bolts or screws are not lining up, it's possible that there is an issue with the mounting points on the motorcycle. In this case, it's best to consult a professional mechanic.
Contact Us for Purchase and Consultation
If you're interested in purchasing our CBR1000RR - R Passenger Seat for the 2017 model, we're here to help. Our team of experts can provide you with more detailed information about the product, answer any questions you may have about the installation process, and assist you in making the right choice for your motorcycle. Whether you need the Motorcycle Passenger Seat Cushion for Honda CBR1000RR - R 2017- or the Motorcycle Complete Seat Cushion for Honda CBR1000RR - R 2017-, we have the perfect solution for you. Don't hesitate to reach out to us for a consultation and to start the purchasing process. We look forward to serving you and helping you enhance your motorcycle riding experience.
References
- Honda CBR1000RR - R 2017 Owner's Manual
- General Motorcycle Repair and Maintenance Guides