

When it comes to enhancing your riding experience on a Honda CBR650R, one of the most impactful upgrades you can make is installing a high - quality rider seat. As a trusted supplier of Rider Seat For Honda CBR650R, I'm here to guide you through the installation steps to ensure a smooth and successful process.
Step 1: Gather the Necessary Tools
Before you start the installation, it's crucial to have all the required tools at hand. You'll typically need a set of wrenches, a socket set, a flat - head and Phillips - head screwdriver, and potentially a torque wrench to ensure that all bolts are tightened to the correct specifications. Having these tools ready will save you time and prevent any unnecessary delays during the installation.
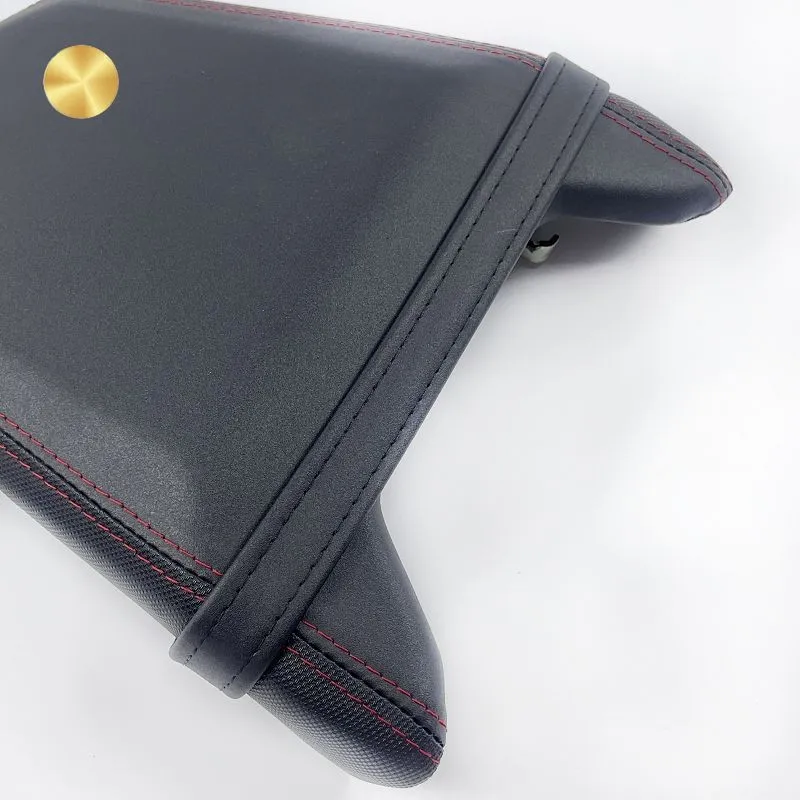

Step 2: Prepare Your Workspace
Find a clean, well - lit, and flat area to work on your motorcycle. A garage or a driveway is usually a good choice. Make sure your Honda CBR650R is parked securely on its kickstand or a paddock stand. You might also want to lay down a protective mat to prevent any scratches on your motorcycle's bodywork.
Step 3: Remove the Old Seat
Start by locating the seat release mechanism. On the Honda CBR650R, this is usually a simple latch or a key - operated lock. If it's a key - operated lock, insert the key and turn it counter - clockwise to unlock the seat. If it's a latch, simply lift or pull the latch to release the seat.
Once the seat is unlocked, gently lift it from the rear end and then carefully remove it from the motorcycle. Set the old seat aside in a safe place. As you remove the seat, take note of any cables or connectors that might be attached to it. Some seats may have wiring for heated seats or other accessories. If so, carefully disconnect these cables by gently pulling the connectors apart.
Step 4: Inspect the New Seat
Before installing the new seat, take a few moments to inspect it thoroughly. Check for any signs of damage, such as tears, scratches, or loose stitching. Also, ensure that all the necessary mounting hardware, such as bolts and washers, is included with the seat. If you notice any issues with the new seat, contact our customer support team immediately.
We offer a wide range of rider seats for the Honda CBR650R, including the Motorcycle Rider Seat Cushion Water and Sun Protection for Honda CBR650R 2019-, which provides excellent protection against the elements, and the Motorcycle Passenger Seat Cushion for Honda CBR650R 2019-, designed for added comfort for your passenger. If you're looking for a complete seat replacement, our Motorcycle Complete Seat Cushion for Honda CBR650R 2019- is a great option.
Step 5: Align the New Seat
Carefully place the new seat on the motorcycle, starting from the rear. Make sure that the seat aligns properly with the mounting points on the motorcycle's frame. The mounting holes on the seat should line up perfectly with the holes on the frame. You may need to adjust the position of the seat slightly to get a proper alignment.
Step 6: Reconnect Cables (if applicable)
If you had to disconnect any cables when removing the old seat, now is the time to reconnect them. Gently plug the connectors back together until you hear a click, indicating that they are securely connected. Make sure that the cables are routed properly and not pinched or kinked.
Step 7: Install the New Seat
Once the seat is aligned and the cables are reconnected (if any), it's time to secure the new seat. Insert the bolts through the mounting holes on the seat and into the holes on the motorcycle's frame. Use your wrenches or socket set to tighten the bolts. However, don't fully tighten them just yet.
Step 8: Check the Alignment Again
After loosely installing the bolts, double - check the alignment of the seat. Make sure that it sits flush with the motorcycle's bodywork and that there are no gaps or misalignments. You can adjust the position of the seat slightly by loosening the bolts and re - positioning it if necessary.
Step 9: Tighten the Bolts
Once you're satisfied with the alignment, use a torque wrench to tighten the bolts to the manufacturer's recommended torque settings. Over - tightening the bolts can damage the seat or the motorcycle's frame, while under - tightening can lead to a loose seat that may cause rattling or even come loose while riding.
Step 10: Final Inspection
After tightening the bolts, give the seat a gentle shake to ensure that it is securely installed. Check again for any gaps or misalignments. Also, make sure that all cables (if any) are still properly connected and routed.
Step 11: Test the Seat
Before taking your Honda CBR650R for a ride, sit on the new seat and test its comfort. Make sure that you can reach all the controls easily and that the seat feels stable. If you notice any issues, such as discomfort or instability, you may need to re - check the installation or contact our support team for further assistance.
Contact Us for Purchasing
We understand that choosing the right rider seat for your Honda CBR650R is an important decision. Our team of experts is always ready to help you find the perfect seat for your needs. Whether you're looking for enhanced comfort, better protection, or a stylish upgrade, we have a wide range of options to choose from.
If you're interested in purchasing a rider seat for your Honda CBR650R, we invite you to contact us for a detailed discussion. We can provide you with more information about our products, answer any questions you may have, and assist you in making the best choice for your motorcycle.
References
- Honda CBR650R Owner's Manual
- Motorcycle Seat Installation Guides from Industry Experts
In conclusion, installing a new rider seat on your Honda CBR650R is a relatively straightforward process if you follow these steps carefully. With the right tools, a bit of patience, and our high - quality seats, you can enjoy a more comfortable and enjoyable riding experience. So, don't hesitate to upgrade your seat today and take your motorcycle to the next level.